
Poradnik: Dlaczego i w jaki sposób wymienić soczewkę w grawerce laserowej?
Dowiedz się, w jaki sposób soczewki laserowe mogą poprawić jakość i wydajność grawerowania lub cięcia.
Często niedoceniana, soczewka lasera ma w rzeczywistości decydujący wpływ na jakość cięcia i grawerowania.
Jej wymiana umożliwia kształtowanie wiązki lasera grawerki zgodnie z określonymi właściwościami.
Dzięki temu przewodnikowi dowiesz się jaki wpływ ma soczewka na wiązkę lasera i określisz, która z nich jest najlepszym rozwiązaniem dla Twojego zastosowania.
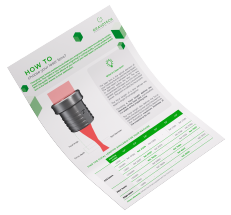
|
Zapoznaj się ze specjalistycznym przewodnikiem na temat wyboru soczewek laserowych! |
|---|

Czym jest soczewka laserowa?
CZYM JEST SOCZEWKA?
Soczewka to element optyczny urządzenia, który skupia wiązkę lasera. Wiązka znajdująca się przed soczewką ma średnicę od 8 do 10 mm. Soczewka skupia wiązkę w mały punkt, zapewniając większą precyzję i bardziej skoncentrowaną moc. Jest to tzw. punkt ogniskowy.
Ogniskowa obiektywu definiuje kąt zbieżności wiązki.
JAK TO DZIAŁA?
Wybór wiązki ogniskowej definiuje średnicę punktu lasera, a tym samym szerokość linii grawerowania.
Wiązka ogniskowa definiuje również głębokość ogniskowania, czyli długość określającą wiązkę jako skupioną. Pozwala to na ustalenie teoretycznej maksymalnej grubości ciętego materiału.
Nasze niezbędne soczewki laserowe

Soczewka 1,5 cala
Precyzja i ostrość
Idealna do: precyzyjnego grawerowania, szczegółowych stempli atramentowych, precyzyjnego cięcia na cienkich materiałach, zdjęć o wysokiej rozdzielczości i logotypów (>800DPI).
Nie nadaje się do: cięcia grubych materiałów (>3 mm) i grawerowania dużych powierzchni.
| Właściwości wiązki laserowej | |
|---|---|
| Średnica punktu (mm) | 0.06 |
| Głębokość ostrości (mm) | 0.5 |
| Długość ogniskowej (mm) | 37.5 |

Soczewka 2.0 cala
Uniwersalna
Idealna do: grawerowania i cięcia 2-warstwowych tworzyw sztucznych, grawerowania liter (>1 mm wysokości) oraz zdjęć i logotypów w średniej rozdzielczości (<500DPI).
Nie nadaje się do: precyzyjnego grawerowania lub cięcia grubych materiałów (>8 mm).
| Właściwości wiązki laserowej | |
|---|---|
| Średnica punktu (mm) | 0.08 |
| Długość ogniskowej (mm) | 0.8 |
| Głębokość ostrości (mm) | 50.0 |

Soczewka 4.0 cala
Cięcie grubych materiałów i szybkie grawerowanie
Idealna do: cięcia grubych materiałów (<25 mm), grawerowania dużych znaków lub dużych obszarów, grawerowania obiektów o pustych lub nieregularnych powierzchniach lub projektów o małej ilości detali (<200 DPI).
Wady: Niska rozdzielczość i szerokie linie cięcia.
| Właściwości wiązki laserowej | |
|---|---|
| Średnica punktu (mm) | 0.16 |
| Głębokość ostrości (mm) | 3.3 |
| Długość ogniskowej (mm) | 100 |
Other focal lengths are available
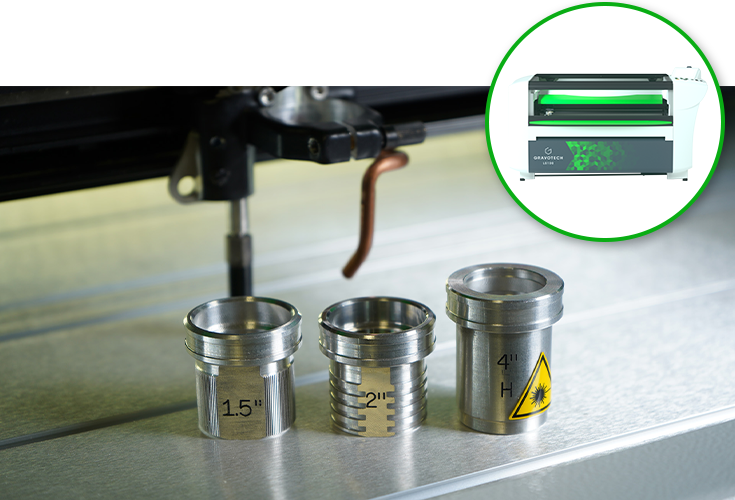
Check out all the laser lenses for the LS series. |
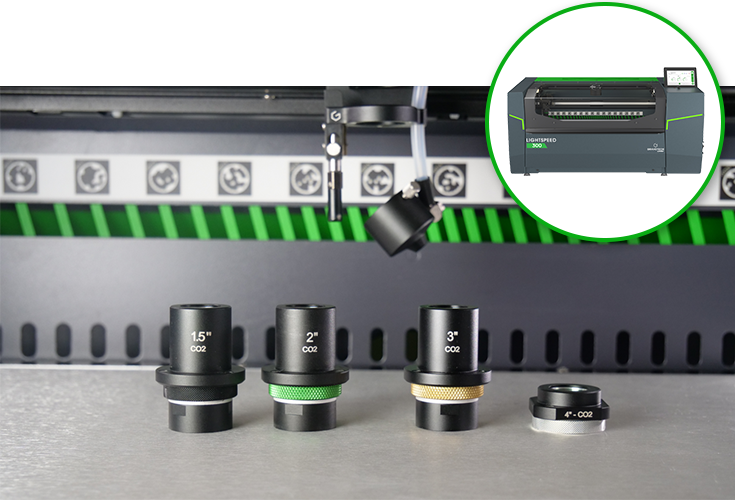
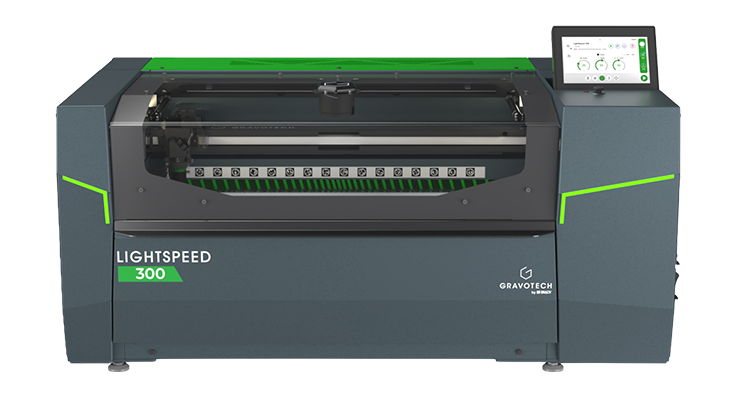
Discover the Click Lens concept for the LightSpeed 300. |
Porównanie grawerowania
Zobacz poniżej, jak soczewki radzą sobie z bardzo szczegółowym grawerunkiem na drewnie.

Grawerowanie soczewką o grubości 1,5 cala
Najbardziej szczegółowe i najdokładniejsze

Grawerowanie soczewką o grubości 2,0 cala
Dobry wynik, ale brakuje kilku drobnych szczegółów

Grawerowanie soczewką o grubości 4,0 cala
Przybliżony, zamazany grawerunek
Porównanie cięcia
Porównanie cięcia przy użyciu soczewek na kawałku płyty akrylowej o grubości 10 mm.

Cięcie soczewką o grubości 1,5 cala
Cięcie w kształcie fali

Cięcie soczewką soczewką o grubości 2,0 cala
Lekko zakrzywiona krawędź tnąca

Cięcie soczewką o grubości 4,0 cala
Całkowicie proste cięcie
How to calibrate your laser machine to your new lens?
The calibration process for your lens depends on your machine:
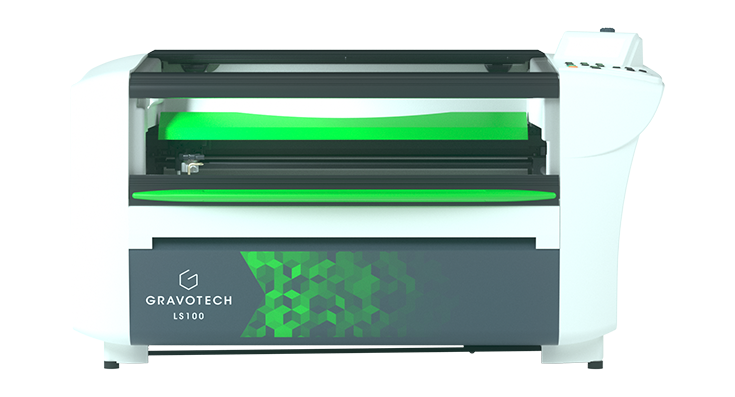
Calibration process for LS range

1. Save your actual configuration and replace the lens
First, launch our driver's interface by opening your machine's printing preferences on your computer.
In the "machine" tab, back up your current settings by clicking on the "Send to computer" button.
Then, unscrew the fleece screw to remove your current lens and attach your new lens in its place.


Calibration process for LightSpeed
The lens calibration process for the LightSpeed 300 is essentially the same as for the LS range. However, the LightSpeed 300 features a built-in interface that guides the user step by step directly on the machine's screen.
All calibration parameters are also stored in the machine, allowing it to save multiple settings for different focal lengths.


How to clean your laser lens and why it matters
Regularly cleaning your laser lens is essential to maintain consistent engraving and cutting quality, preserve the power of the laser beam, and prevent damage caused by dust, smoke, or material residues.
The cleaning frequency depends on how intensively the machine is used and the materials being processed, but it is recommended to check the lens at least once a week, or more often for heavy use or materials that generate a lot of smoke.
For safe and effective maintenance, Gravotech offers the Lens cleaner kit, which includes a lens cleaning solution, suitable wipes, and cotton swabs.
Ref.26327
|
|
Zapoznaj się ze specjalistycznym przewodnikiem na temat wyboru soczewek laserowych! |
|---|